Custom fonts
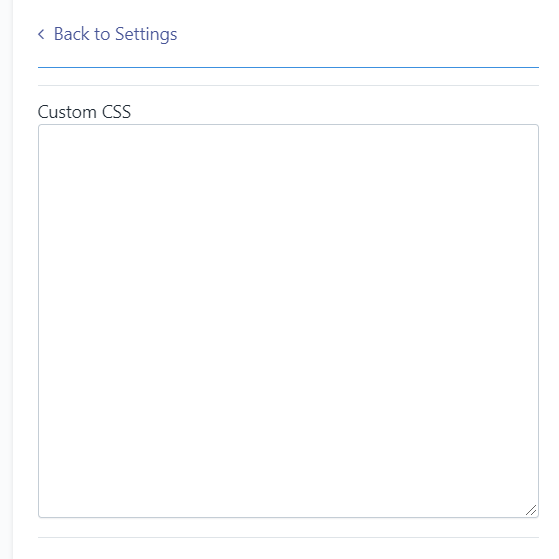
Step 1: Locate the Custom CSS panel in the Coming Soon customizer
-
Click into the Coming Soon customizer and click
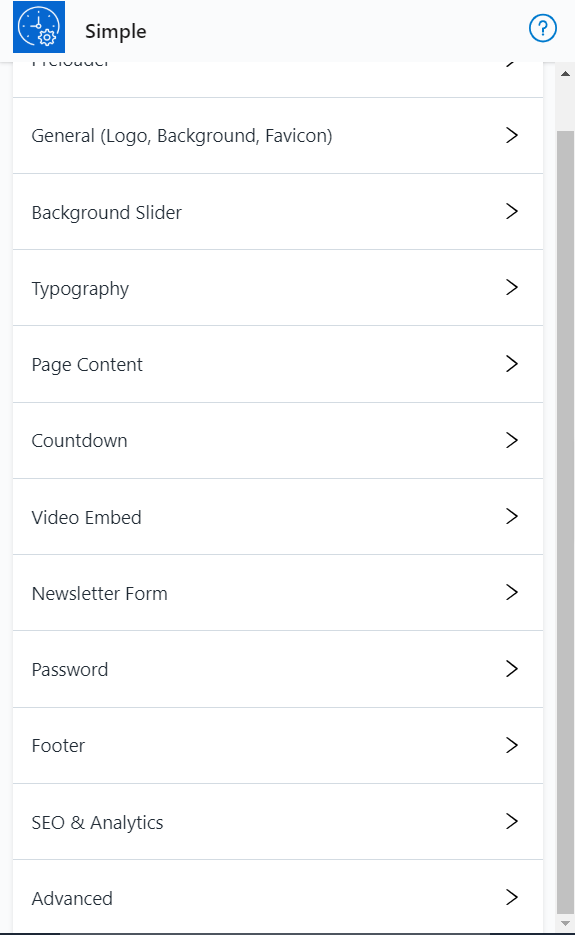
Advanced:
-
This will display a field for
Custom CSSas shown below:
Step 2: Modify the code below to define your custom CSS
@import url('https://fonts.googleapis.com/css?family=<your_font_family_here>&display=swap');
<your_font_modifier_here> {
  font-family: '<your_font_family_here>', sans-serif !important;
  font-size: <your_font_size_here>;
  font-style: normal, bold, oblique;
}
-
Replace
<your_font_family_here>with your preferred Google font. -
Replace
<your_font_modifier_here>with eitherp,h1,h2, orh3.p will update the paragraph/body font on your site. h1 will update heading 1 (title) font on your site. h2 will update heading 2 (subtitle) font on your site. h3 will update heading 3 font on your site. -
Replace
<your_font_size_here>with your preferred font size. Alternatively, remove this line if you do not need to specify the font size. -
Update the
font-styleline to your preferred style. Alternatively, remove this line if you do not need to specify the font style.
To import a custom font from your servers, you can simply replace the URL in the @import url('') line with the URL
associated with your font.
Example: Google Font (“Lato”)
@import url('https://fonts.googleapis.com/css?family=Lato&display=swap');
p, h1 {
  font-family: 'Lato', sans-serif !important;
}
This updates the paragraph and heading 1 fonts to use Google’s Lato font.
Step 3: Insert your custom CSS into the field above and save the changes
As always, if you’re having any trouble, please reach out to [email protected], and we’d be happy to help.